
How to sew bias tape properly is an art. Whether you are a beginner or an expert in the world of sewing, there are finishes that are essential to know. This is the case, for example, of knowing how to sew bias tape, since this is one of the basics for a garment to be perfect.
Learning to carry out this work will be very useful when it comes to finishing both garments and different designs. You can use it in clothes, bags, comforters, and even tablecloths. The possibilities are endless.
In addition to an ideal finish, the bias ribbon is a detail that will capture attention for its decorative character. In this guide, you will learn how to sew it on your own without any problems. You will love the result.
How to sew the tape to the bias, a basic in sewing
A bias tape is one that has been cut diagonally regarding the edge of the fabric. This means that you have greater flexibility when using it. Above all, compared to a ribbon cut parallel to the plot.
This type of tape is effortless to recognize because it has both sides of the edge bent towards the inside. On the other hand, it is a basic in sewing that can be used to finish off low garments, clean seams and even to decorate items such as bags, bedspreads, etc.

The step by step to sew a tape to the bias
Now that you know a little more about this type of tape, it’s time to learn how to sew it correctly. First, you will need a wide or narrow bias tape, depending on your needs.
The next thing you need to do is unfold the bias and place it at the top of the edge you want to finish. At this point, it is important to face the right of the fabric of your choice with that of the ribbon to the bias. To hold it, use pins and string them.
Once you notice that the tape is properly placed, you can remove the pins to stitch the machine over the first of the folds of the bias. It is relevant not to stretch the piece too much while it is sewing.
Then, remove the threads to trim the seam margins to about 5 millimetres. Now, turn the bias over the back of the garment, thread back and sew close to the edge.
How to sew ribbon to the bias in corner
As you can see, knowing how to place tape to the bias is simple and will help you raise the quality of your creations. However, if you want to be a true professional, another thing you should know is to sew ribbon bias in corners.
To accomplish this, you must sew the tape normally, but, before you reach the corner, you have to bend the tape to create a diagonal. In it, the edge of the tape has to be aligned with that of the fabric.
Then fold the tape back again. You will see that there is a triangular-shaped tab left that you can lift and bend to the other side. When you have it bent, keep stitching and stop before you reach the margin of the seam in the corner.
Now, fold the tab back to the opposite side and do it again. Once you have the tape well-placed, all you have to do is finish stitching all over the edge of it.
Find the bias tapes you need in Byetsa
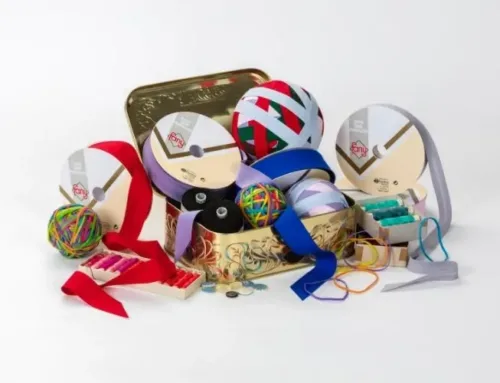
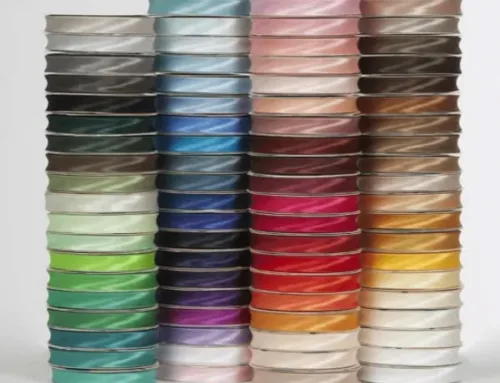
In short, sewing a tape to the bias on your own is much simpler than it may seem. If you need to get hold of all kinds of different tapes, in the Byetsa catalogue you will find the ones you need.
We are a company specialized in the sale of bias tapes for the industrial sector and haberdashery. In addition, we have two product lines: Fany and Byor.
The Fany line is specialized in products for small format haberdashery. On the other hand, the Byor line is the one with which we work the large-format industrial pieces.
This way, once you know how to sew tape to the bias professionally, you can buy the tapes you choose from our wide variety of items. If you require any clarification about this, please contact Byetsa by filling out the contact form provided.


Leave A Comment