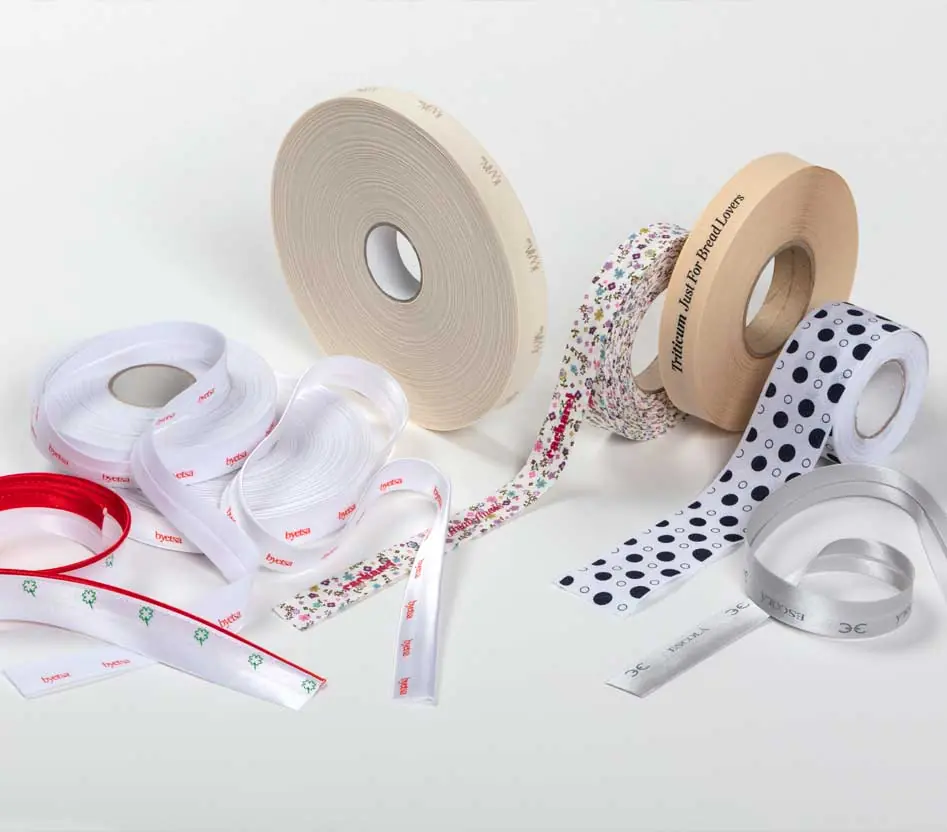
How to apply bias binding on curves: our recommendations
Learn step by step how to apply bias tape on curves and achieve perfect, professional finishes. Best tips and techniques at Byetsa.
 By Francesco ZagnoniPublished on Updated on 10 min read
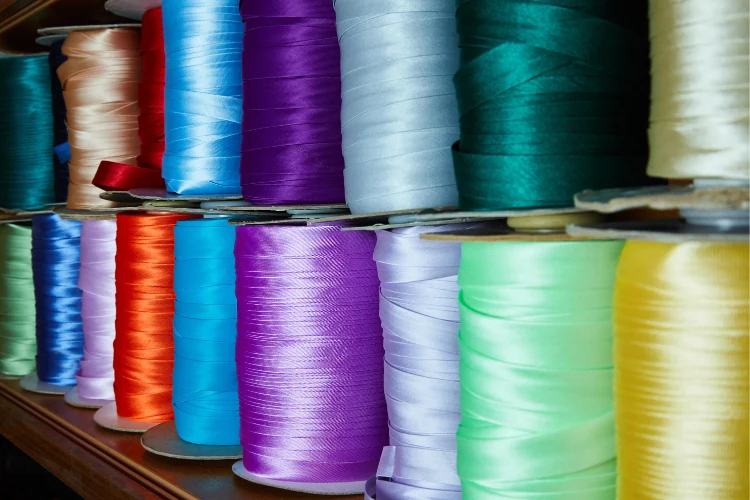
Quick answer
To apply bias binding to a curve, unfold it and pin it every few centimetres, sew slowly along the first fold, fold it over the edge to cover that seam, topstitch again and press with steam without dragging the iron.
Key points
- The 45° cut gives bias binding the stretch it needs to adapt to curves without wrinkles or pleats.
- Pin with fine pins at short intervals and, on tight curves, make small notches in the inner edge.
- Sew with a fine needle, at low speed and with frequent stops to reposition the binding without stretching it.
- Tacking first helps on complex projects or with delicate materials before the final seam.
- Press with steam at a low temperature between steps, pressing without dragging to set the bias binding into the curve.
The technique to apply bias tape on curves like a professional
Learning how to apply bias tape on curves is essential for achieving a professional finish in all your projects. Since bias tape is cut diagonally, it offers flexibility that allows it to adapt to curves without wrinkles or pleats.
Knowing how to apply bias tape on curves might seem tricky at first, but with the right techniques, you can achieve a perfect finish on all types of garments and sewing projects.
At Byetsa, we share our expertise to help you achieve optimal results, and we offer a variety of bias tapes for all types of applications. Whether you’re working on industrial or personal projects, these tips will help you improve the quality of your finishes.
What is bias tape, and why is it ideal for curves?
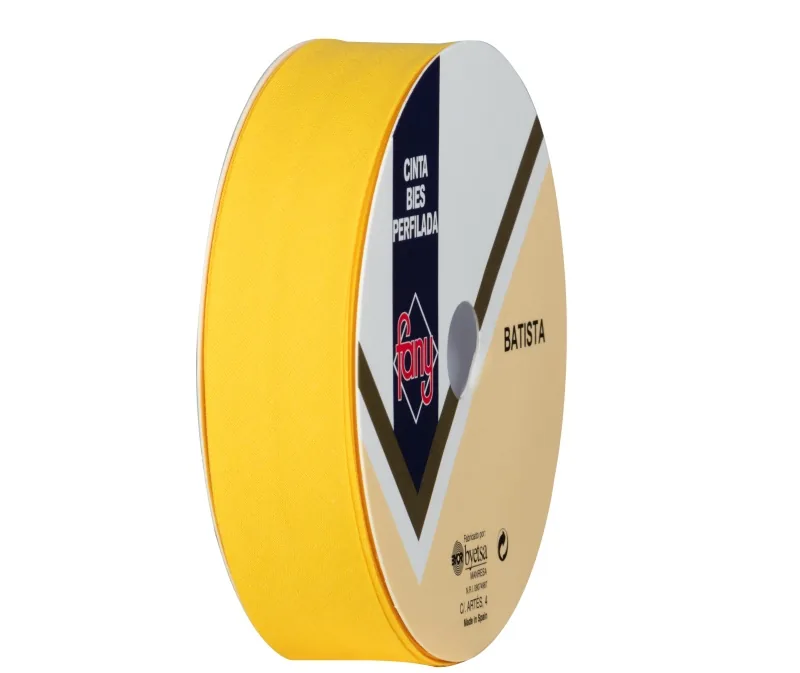
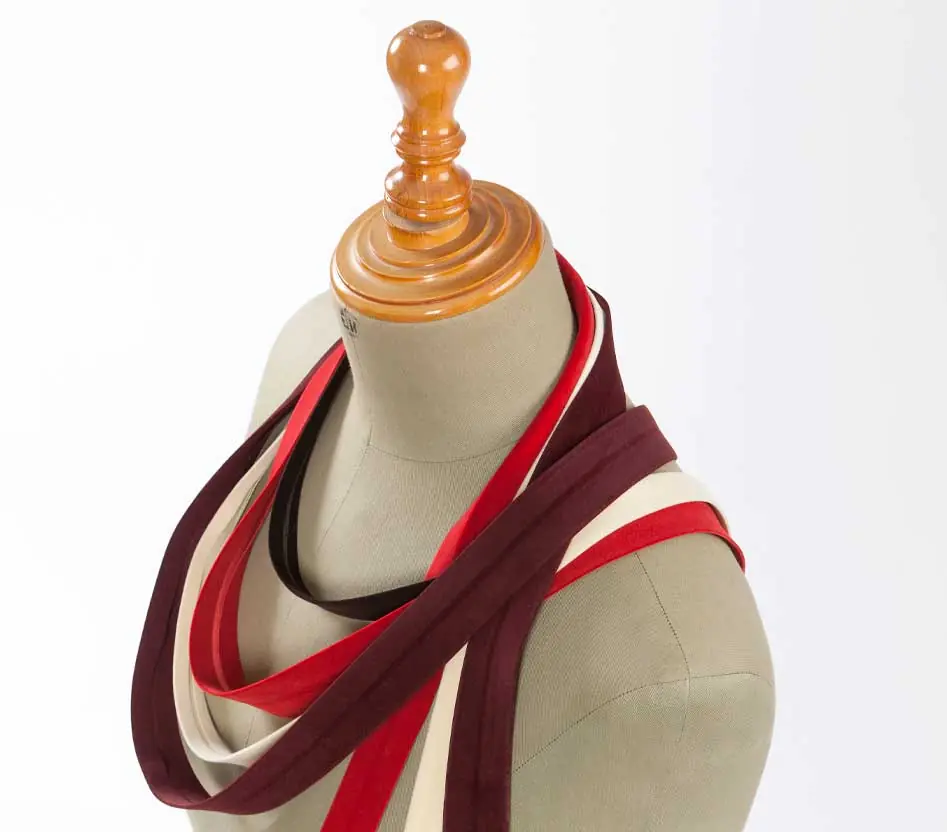
Bias tape is a strip of fabric cut at a 45-degree angle to the weave, giving it a special elasticity that allows it to easily conform to curved edges. Unlike straight-grain ribbons, bias tape adapts better to curved edges and prevents the material from fraying, ensuring a clean finish.
In both industrial sewing and crafts, bias tape is not only used to finish edges and hems but also as a decorative element. The variety of materials and finishes available, such as cotton, polyester, satin, and even elastic bias tape, offers great versatility in its application.
Table of contents
From cotton options for a natural look to satin tape for elegant finishes, you’ll find the perfect bias tape for every project in our catalogue. Below, we share some practical tips and recommended products to help you master the art of applying bias tape to curves.
What is bias tape used for in sewing?
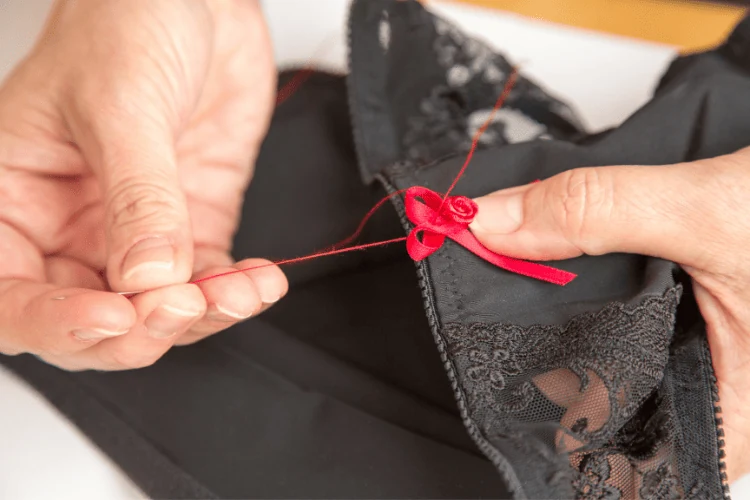
Bias tape is a widely used element in the sewing industry. It can be especially useful for:
- Finishing curved edges: such as necklines, armholes, and hems.
- Decorative sewing: a contrasting bias tape can be chosen to create visual details on garments.
- Reinforcement in high-use areas: the bias tape provides structure and prevents the edges from fraying, improving the durability of the garment.
At Byetsa, we offer bias tapes for all types of applications, from decorative options for fashion and home to industrial versions designed to withstand heavy use in demanding conditions. If you’re not sure how to apply bias tape on curves, try it with our products and tips, and it will be much easier.
Practical tips for applying bias tape on curves
To achieve a professional result, here are the key steps on how to apply bias tape on curves:
Preparation of the bias tape
Before you begin, choose a tape that has enough flexibility. The polyester bias tape from Byetsa is ideal for beginners, as it offers a balance between manageability and durability, without wrinkles. Be sure to press the tape to avoid creases and have fine pins ready to secure it.
Open the tape and pin it
To know how to apply bias tape on curves, it’s key to unfold the tape, place it along the curved edge you want to finish, and pin it in place to keep it where you want. Start by pinning one end of the bias tape to the fabric edge, then continue pinning every few centimetres so it adapts to the curve. Don’t hesitate to make small notches along the edge of the tape if the curve is very tight; this will help avoid wrinkles and tension.
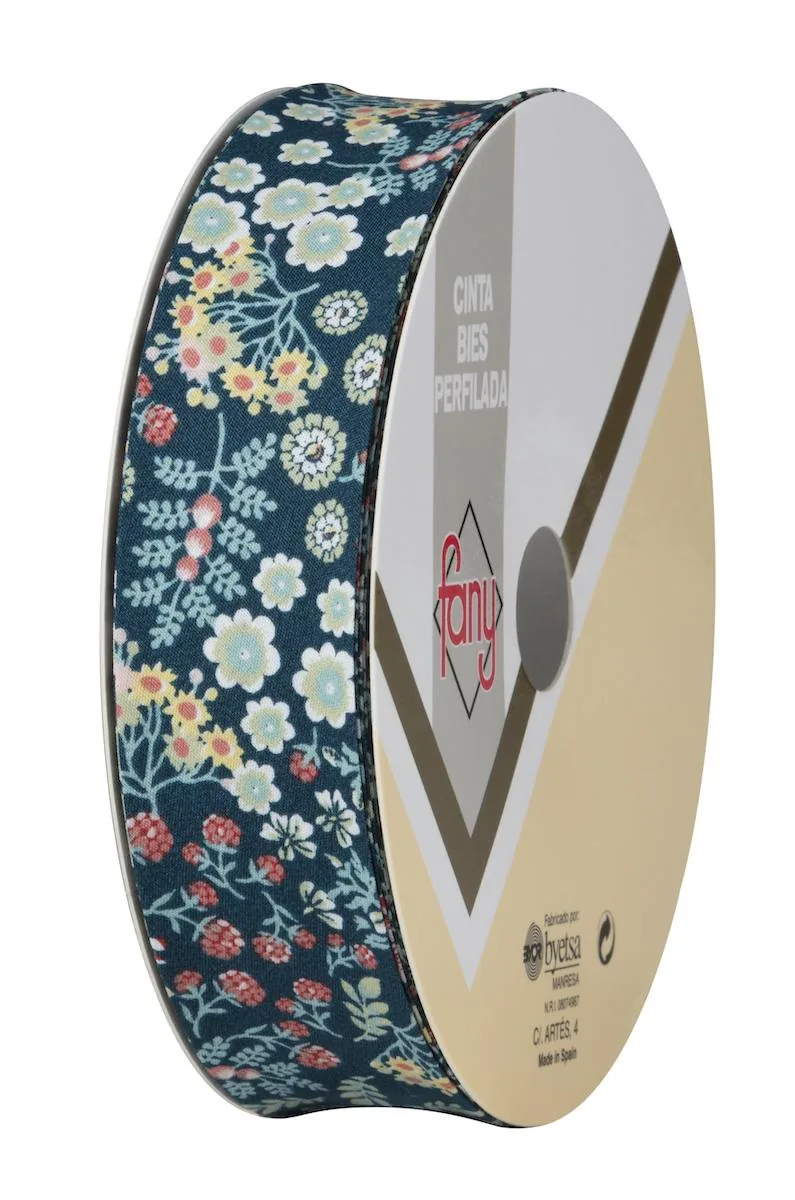
From Byetsa, we recommend using printed bias tapes, as they are perfect for adding a decorative touch to your projects.
Sewing machine adjustment
To avoid slipping when sewing curves, use a fine needle and adjust the machine’s tension according to the fabric type. Work at low speed and with smooth movements. Make frequent stops to adjust the direction of the tape. The key is to sew slowly and without forcing the fabric to avoid distorting the bias tape. Keep in mind that Byetsa’s elastic bias tape is an excellent option for sharp curves, as it adapts better to rounded shapes.
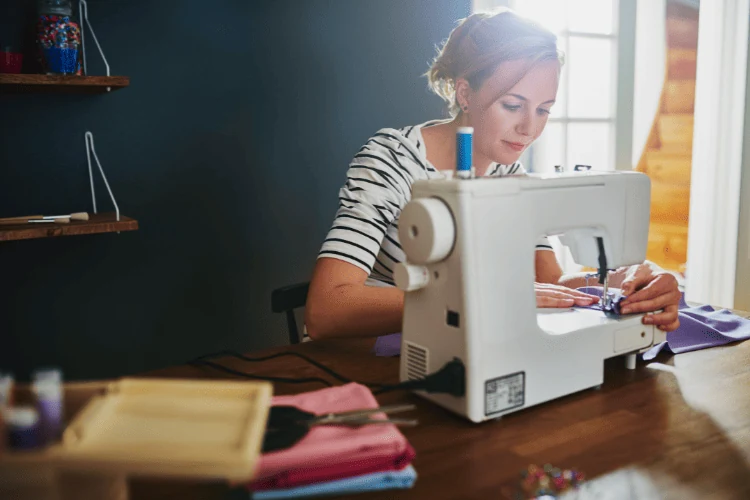
How to apply bias tape on different types of curves?

The technique for how to apply bias tape on curves may vary slightly depending on the shape of the curve:
- Open or wide curves: less adjustment is required here, but it’s important to place pins every few centimetres to keep the tape aligned.
- Tight curves: in these, making notches in the tape is essential. Additionally, it’s recommended to sew at a lower speed and constantly adjust the fabric positioning to avoid pleats.
- Irregular edges: if the curve changes direction, such as in necklines or armholes, adjust the tape at each curve change to maintain the continuity of the seam.
Recommendations for applying bias tape on curves
When working with curves, it is important to consider certain factors that make the process easier and ensure a high-quality result. Here are some additional recommendations on how to apply bias tape on curves and achieve a quality finish:
Choose the right width and type of bias tape
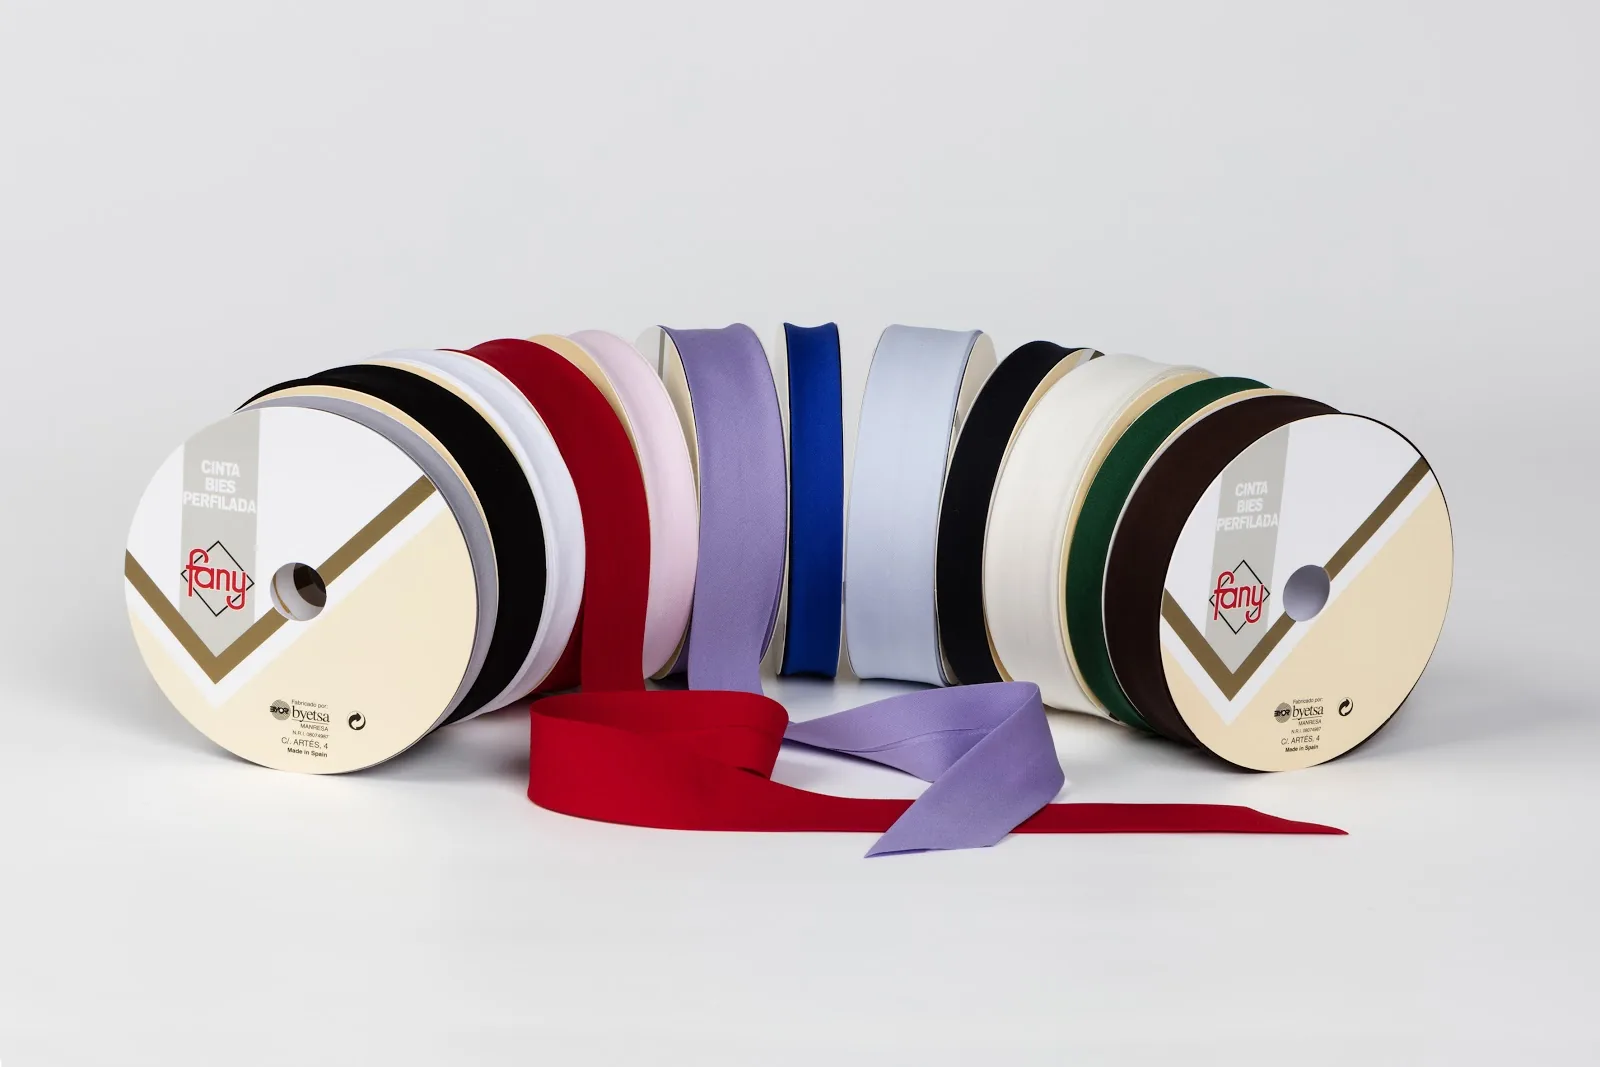
Choosing the right bias tape is crucial. For sharp curves or narrow edges, opt for thinner tapes like the Byetsa satin bias tape, which offers greater flexibility and better adaptability to tight contours without compromising aesthetics.
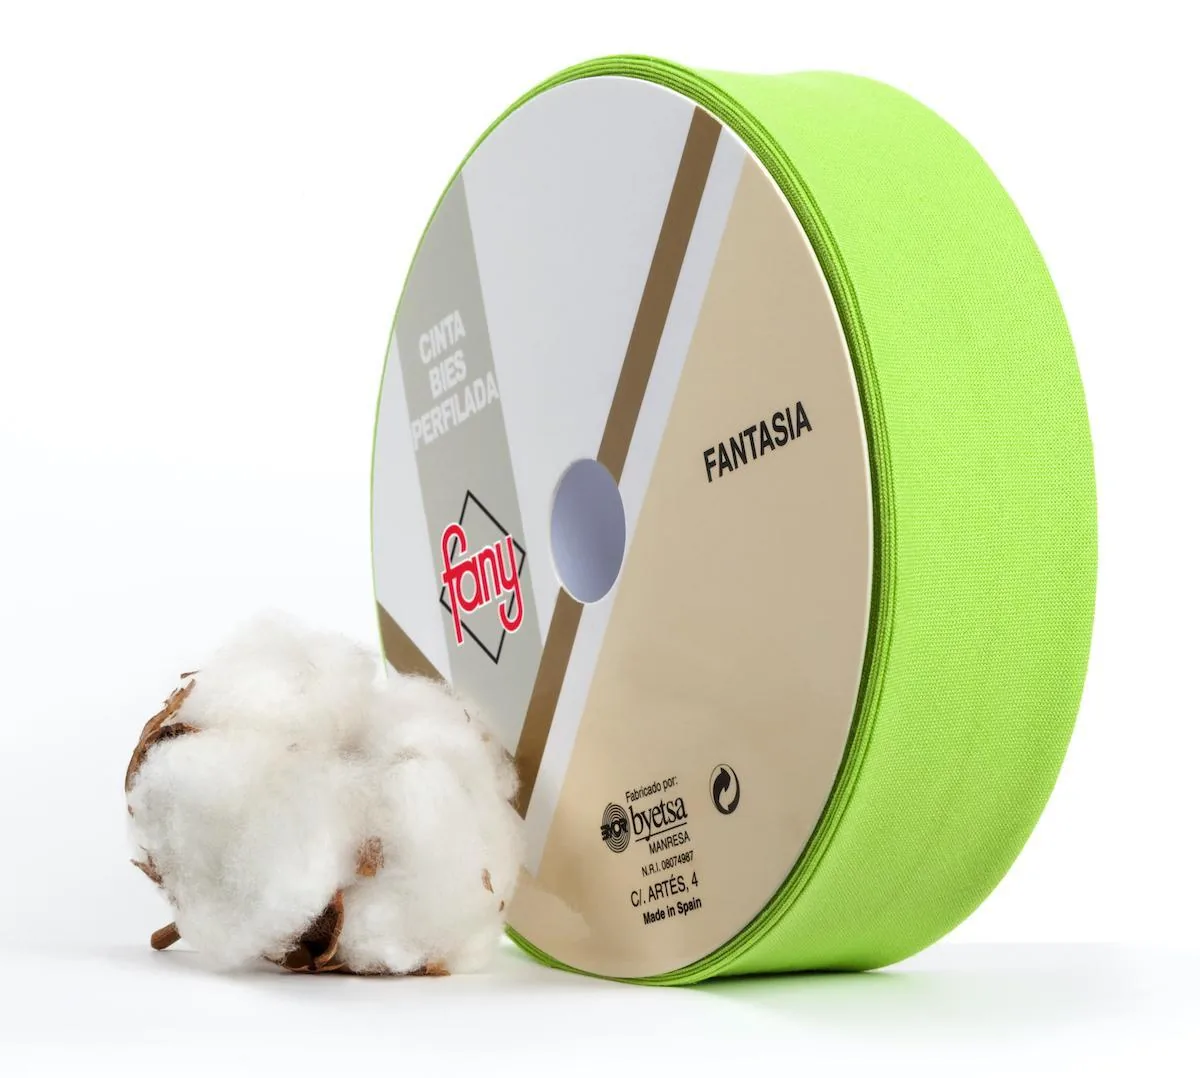
On the other hand, if you’re working on upholstery projects or garments with wider edges, the Byetsa cotton bias tape in wider widths can be ideal to provide the necessary reinforcement and durability, while maintaining its appeal.
Use precision tools
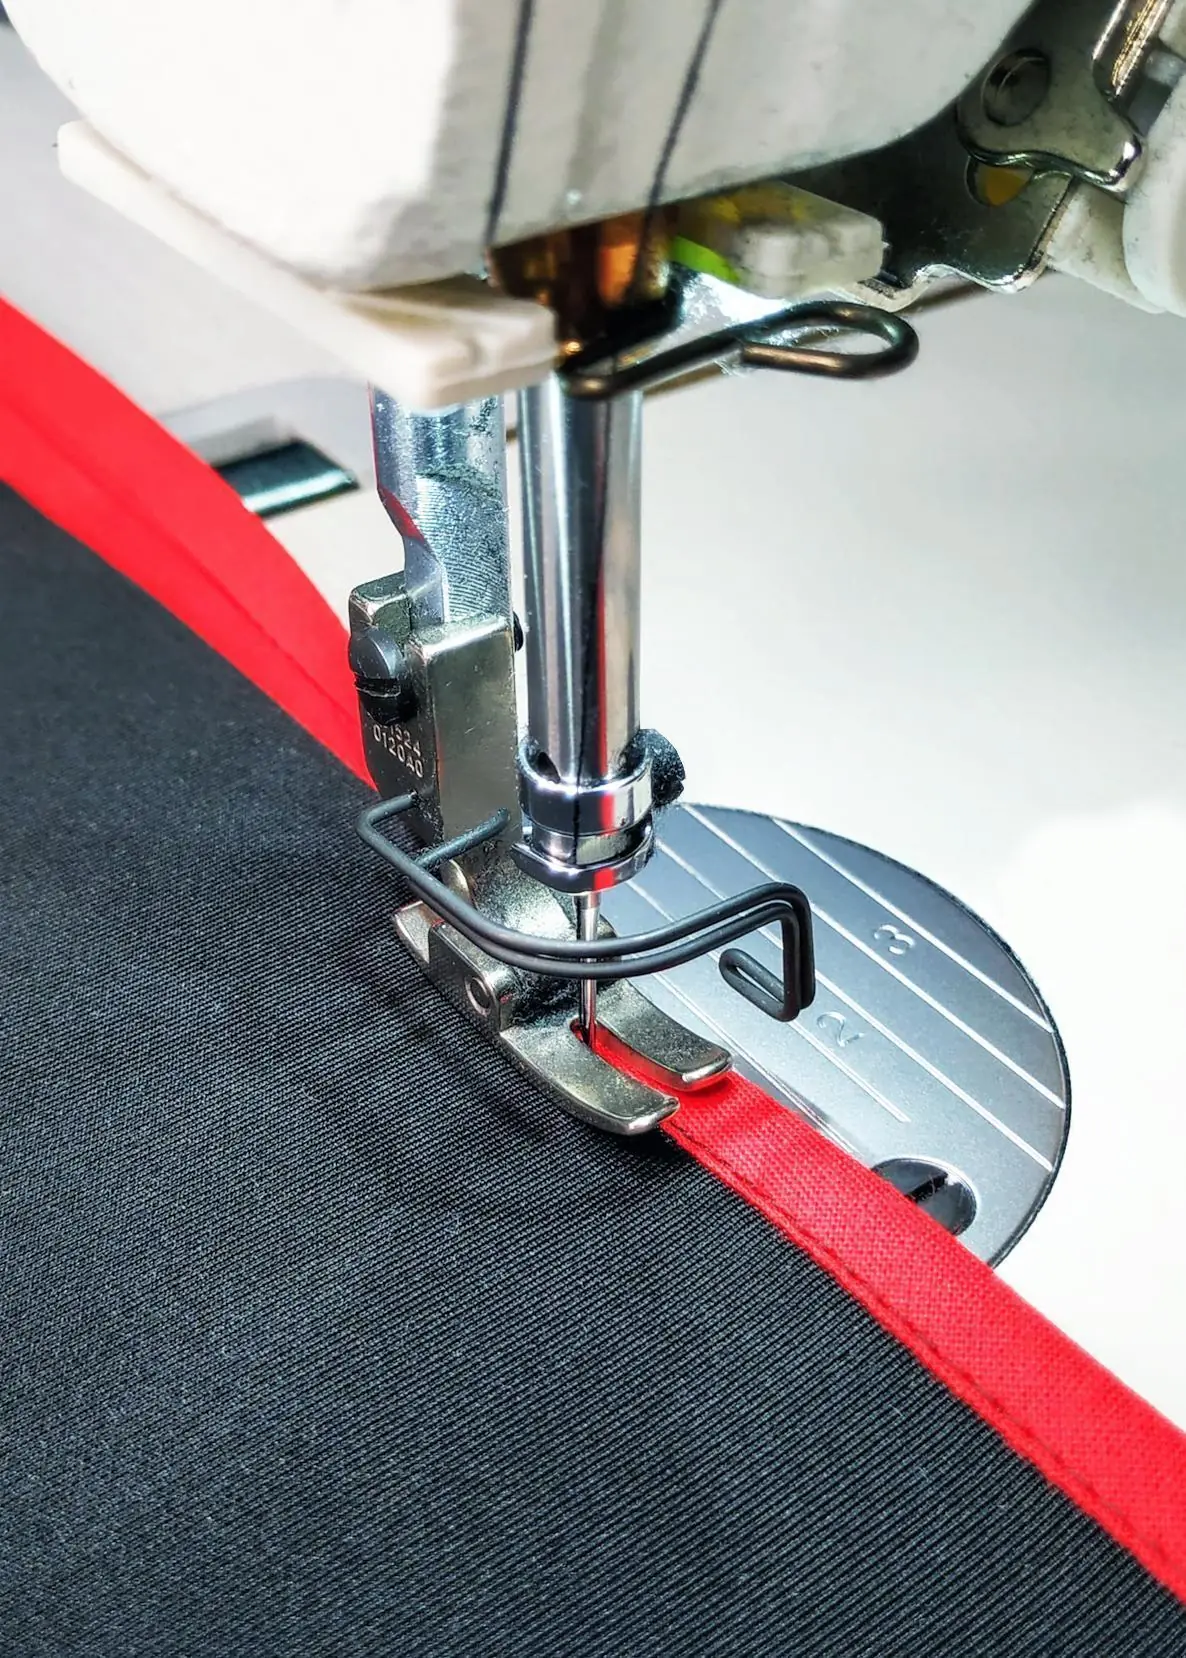
Fine pins and precision tweezers can be very helpful in this process. Place pins at short intervals to secure the tape without shifting. You can also use a bias tape foot on your sewing machine, which allows for more controlled tension adjustment and helps handle the tape on curves.
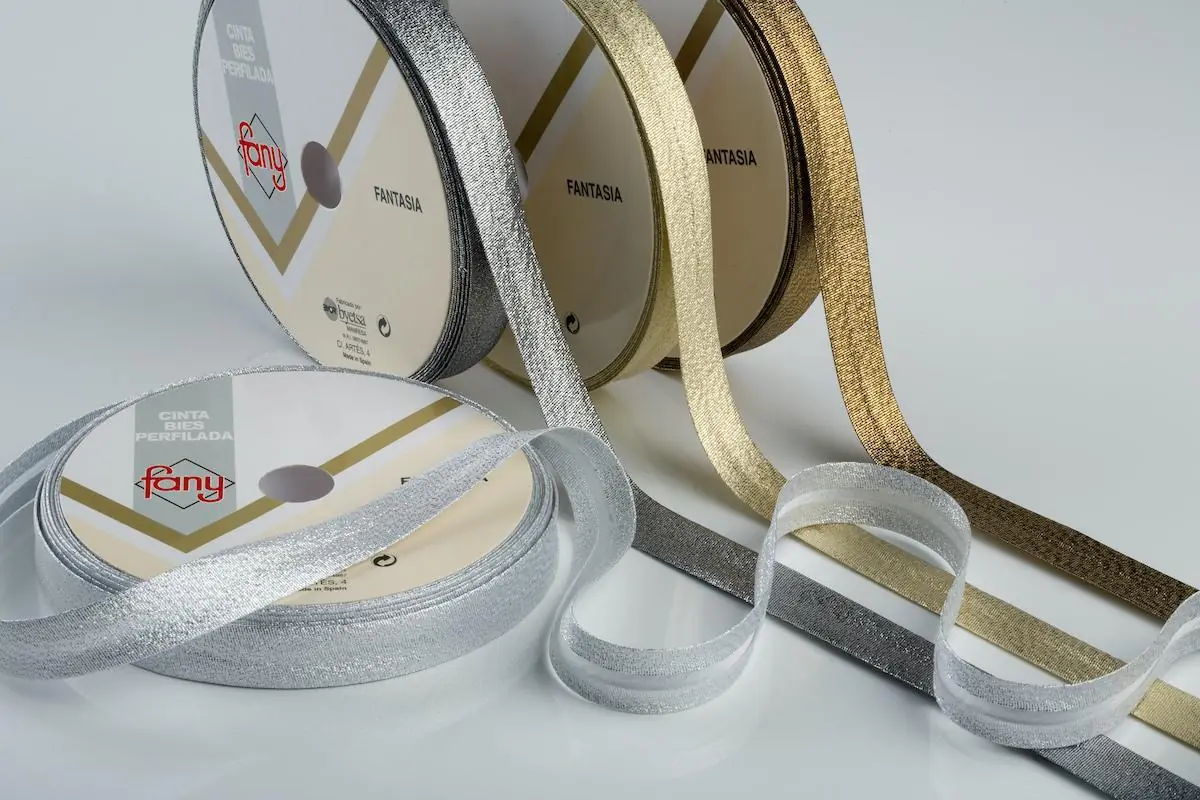
The Byetsa lamé bias tape is a decorative and festive option that fits precision projects, offering a striking metallic finish.
Make strategic cuts in the tape
If the curve is very tight, make small cuts or notches on the inner edge of the tape, especially where the curve is tightest. This will allow the chosen bias tape to fit more easily without creating pleats, maintaining a smooth appearance and achieving the desired finish.
Try basting first
To ensure the bias tape is in the exact position, you can baste the tape before sewing it by machine. This additional step is especially useful for complex projects or when working with delicate materials. Basting will allow you to visualise how the bias tape will fit the curve and make any necessary adjustments before the final stitching.
Continuous adjustment of the bias tape while sewing
While sewing the bias tape, especially on curves, it is essential to make adjustments frequently. The bias tape has some elasticity, but in tight curves, it’s important to handle it carefully, gently turning the fabric to avoid overstretching or forming wrinkles. Remember, when working with curves, patience and precision are key to achieving a clean and professional finish.
Iron between steps
To ensure the bias tape settles properly, use an iron on a low temperature with steam between each step. After each seam, press the tape on the curve with light pressure and steam, avoiding dragging the iron to prevent distorting the material. This step helps shape the tape and sets the seam for a polished final result.
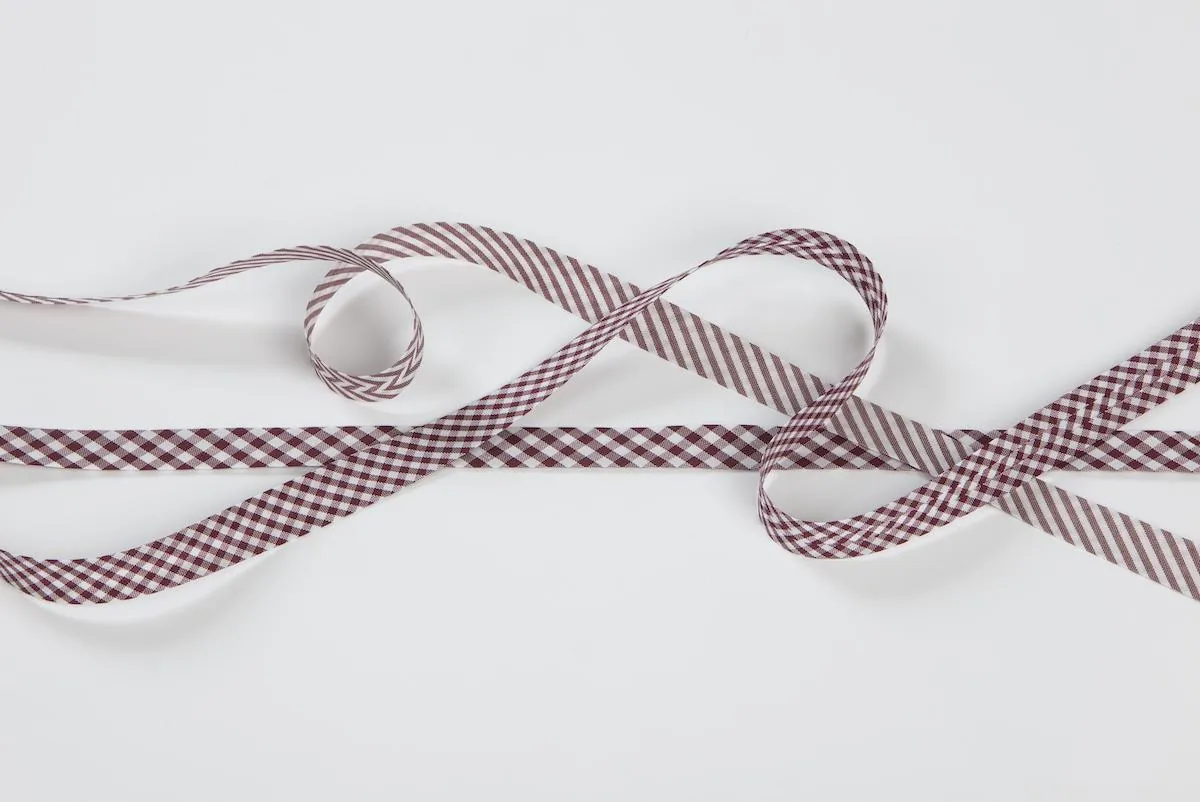
The Vichy bias tape by Byetsa is perfect for projects that require a special and detailed touch on every curve.
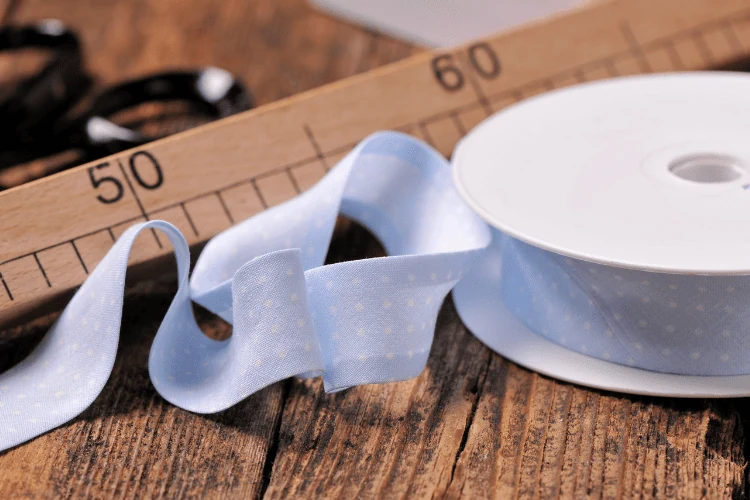
With all these tips and recommendations, you’ll become an expert in how to apply bias tape to curves, ensuring your sewing projects have flawless and unbeatable finishes.
Step-by-step procedure to apply bias tape to curves
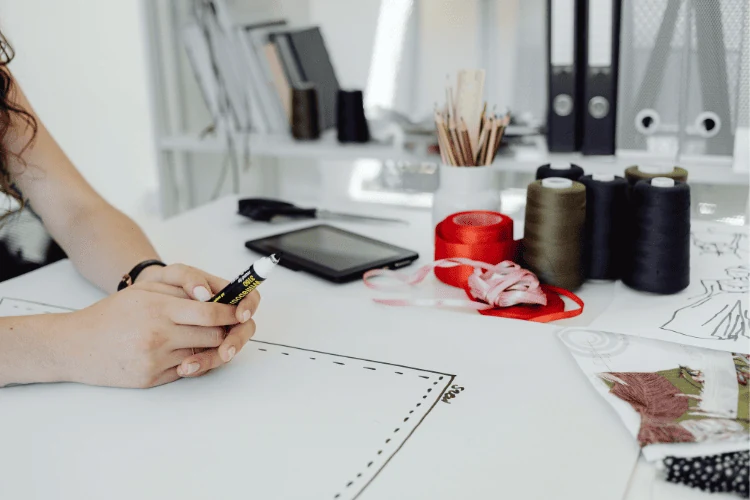
Step 1: Initial Fixing and Alignment
Unfold the bias tape and place it along the left edge of the curve. If you want to learn how to apply bias tape on curves without wrinkles, it’s important to align the edges properly. Secure with pins at regular intervals. Instead of placing the fabric on a flat surface, slightly lift the fabric to work better with the curvature.
Step 2: Sew the First Fold
Use the sewing machine to follow the line of the tape, keeping the needle aligned with the fold of the tape. This first fold is key for securing and defining the contour, and helps keep the tape in place without shifting.
Step 3: Adjust and Close
Fold the tape over the edge and secure it with pins, covering the first line of stitching. Sew a few millimetres from the edge of the tape, ensuring it stays firm both at the top and bottom.
Step 4: Iron for the Final Finish
For a perfect finish, use a steam iron and apply light pressure without dragging it. This step is key when learning how to apply bias tape on curves correctly, as it helps settle the tape nicely on the curve, making it look polished, flawless, and professional.
Where to find the best bias tapes for your projects?
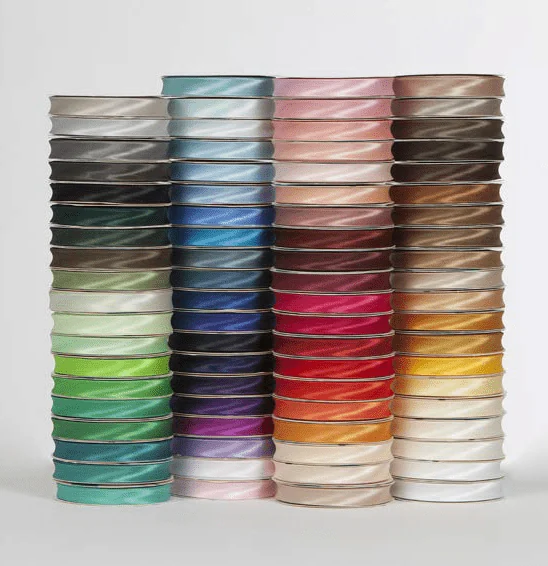
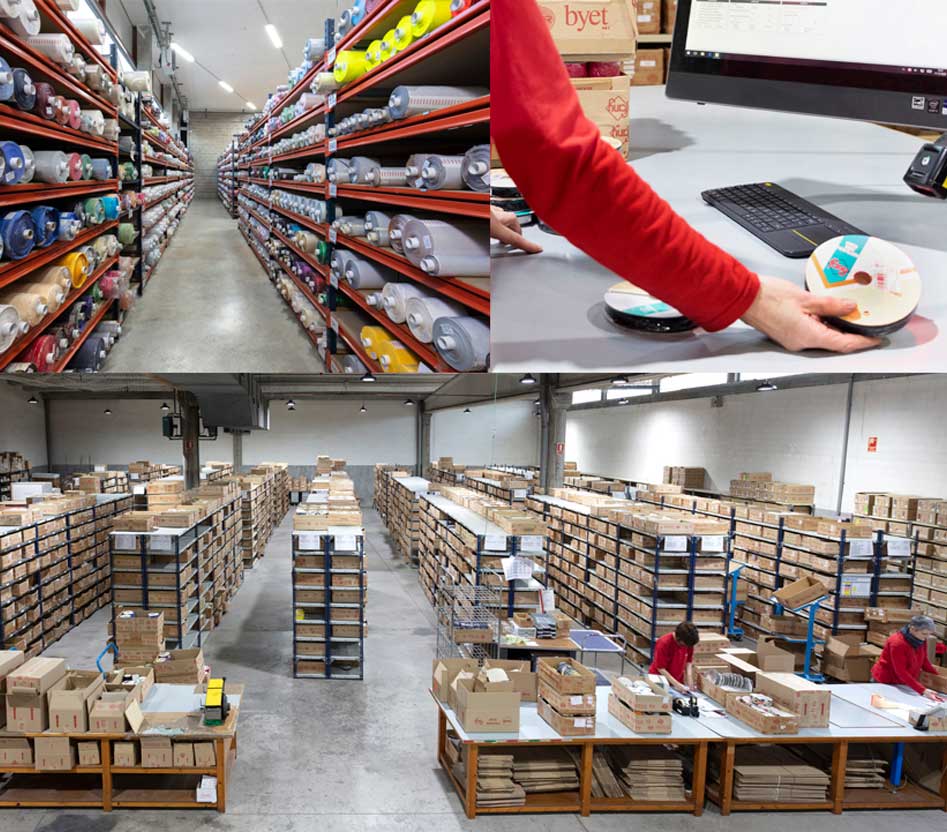
At Byetsa, we have a catalogue of over 7,000 bias tape references. With options in different materials, colours and finishes, our tapes are designed to meet the needs of both industrial users and sewing enthusiasts.
From decorative tapes to high-resistance bias tapes, you’ll find the ideal option for any project. Contact our team for more information at info@byetsa.es or call us at 93 874 40 98. We’re here to help you achieve the best finishes!
We make what you need
Looking for bias binding for your production or your haberdashery?
Frequently asked questions
01What is the best bias tape for working with tight curves?
For tight curves, it is ideal to use bias tapes made from flexible materials such as cotton or polyester, as they allow for better adaptation to shapes without creating pleats. At Byetsa, our cotton bias tapes are perfect for this type of application, offering a balance between flexibility and durability.
02How can I avoid pleats when applying bias tape on curves?
To avoid pleats, pin the bias tape at regular intervals and make small cuts on the inner edge of the tape for very tight curves. Additionally, pressing between steps helps to set the tape and achieve a smooth, wrinkle-free finish.
03Can I use satin bias tape on curves, or is it only for straight edges?
Yes, satin bias tape can be used on curves, but it requires more precision due to its shiny and delicate finish. For a pronounced curve, it is best to practise with a more flexible tape first to perfect the technique. Byetsa offers high-quality satin bias tapes that adapt well to curved edges with proper handling.
04What is the recommended width of bias tape for working with curves?
The ideal width of bias tape for curves varies depending on the project, but generally, a width of 2 to 3 cm is recommended to facilitate handling on curved surfaces. Byetsa offers tapes in various widths, allowing you to choose the best option for each type of curve and application.
05How can I secure bias tape on curves to prevent it from coming undone?
To secure the bias tape on curves, use firm, consistent stitches along the seam. Pressing after sewing also helps set the tape. Additionally, you can do a reinforcement stitch at the end to ensure the tape stays in place, especially on garments or accessories for frequent use.
Related articles
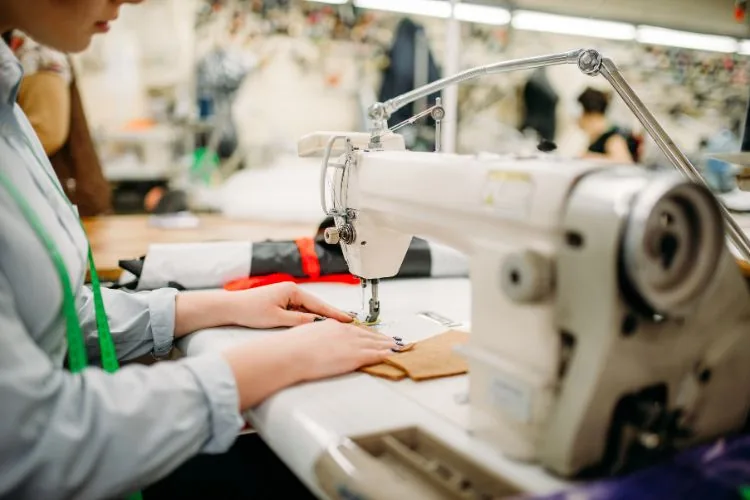
Bias tape: Everything you need to know to master this essential element
Bias tape is an essential element in the world of sewing. Discover why Byetsa’s bias tape is the best choice.
Read article
How to sew bias tape the right way
How to sew bias tape. Join the DIY fashion trend with bias tape and recommendations from Byetsa.
Read article
How to Sew a High-Quality Bias Tape
How do you sew bias binding? Discover Byetsa’s secrets to being one of the best bias binding suppliers in the sector.
Read articleDo you have a question about bias binding?
If you have any questions about our products or need personalised advice, please do not hesitate to contact our team. We are here to help you in any way we can. Write to us!
- Phone93 874 40 98
- Emailinfo@byetsa.es
- AddressC/ Artés, 4 · Pol. Ind. Els Dolors · 08243 Manresa (Barcelona)
Tell us what you need
We will reply with the right reference, format and width for your production.